Quick Start
Project
A Project contains (multiple) simulation inputs, outputs and options.
Create or Open Project is the starting point for working with GibbsStudio. Saving the project, saves it to a binary “.hfst” file.
The interface
The graphical interface contains the following parts:
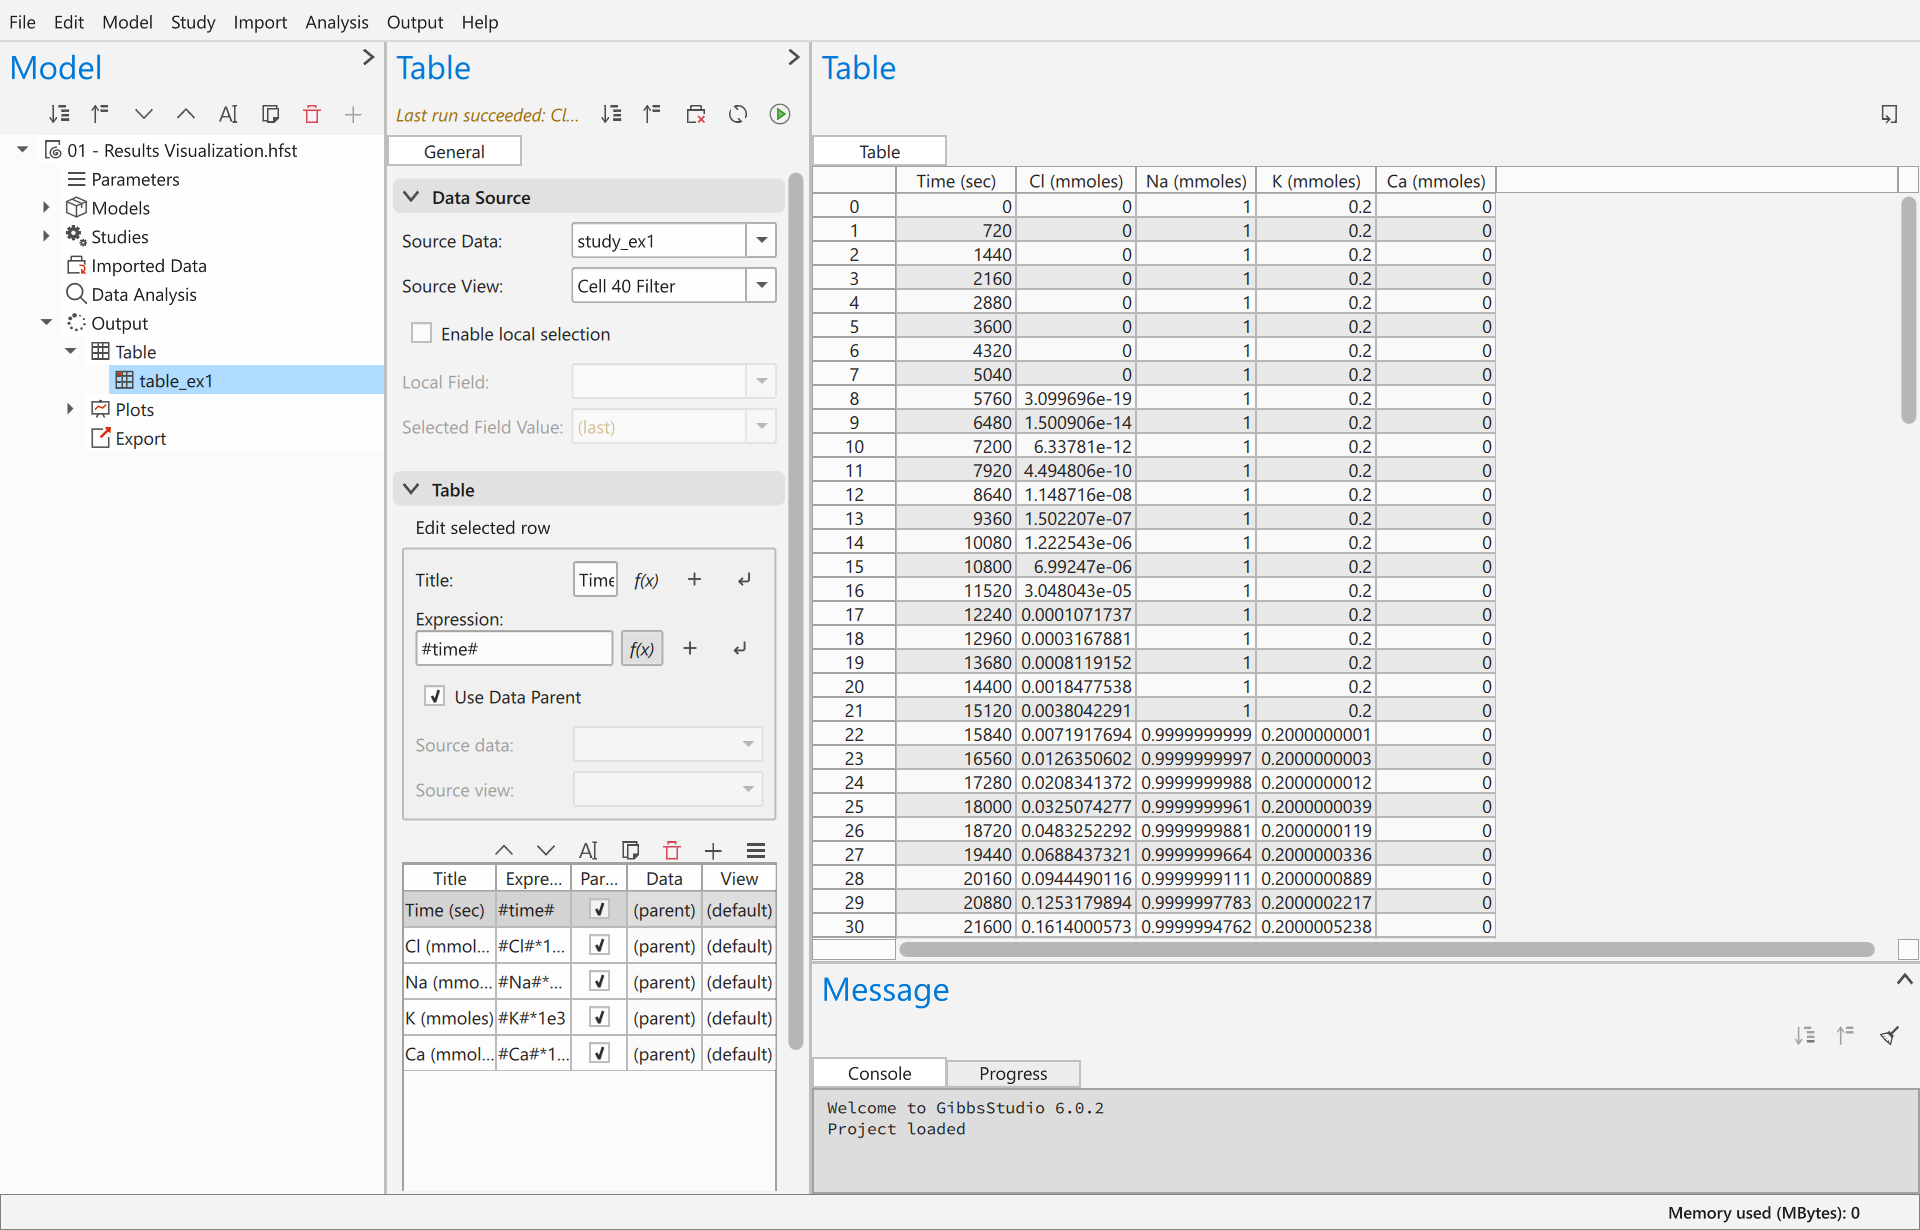
They provide the following functionalities:
Menu: Offers access to tools and actions.
Model Dock: Shows all the entities of the current project. Different actions such as create/remove/solve appear when right-clicking the selected entity
Form Dock: Shows information and options of the selected entity. The Form Dock Toolbar offers actions such as “Run”, “Update” or “Import”.
Main Dock: Shows detailed information, tables or plots for the selected entity.
Message Dock: Shows messages and study progress information to the user.
Running an existing PHREEQC input
For PHREEQC users: how to run an input file you already have.
Create a project
The first step is to create a project to store all our inputs and outputs:
Click on “File->New Project” to create a new Project.
Click on “File->Save” and save it with the desired file name.
Set up the Phreeqc Lab
A new project already has a Phreeqc Lab in its Models branch, carrying an Imported Database with the current phreeqc.dat loaded, a default Selected Output, and a default Model holding a simple PHREEQC input.
Databases
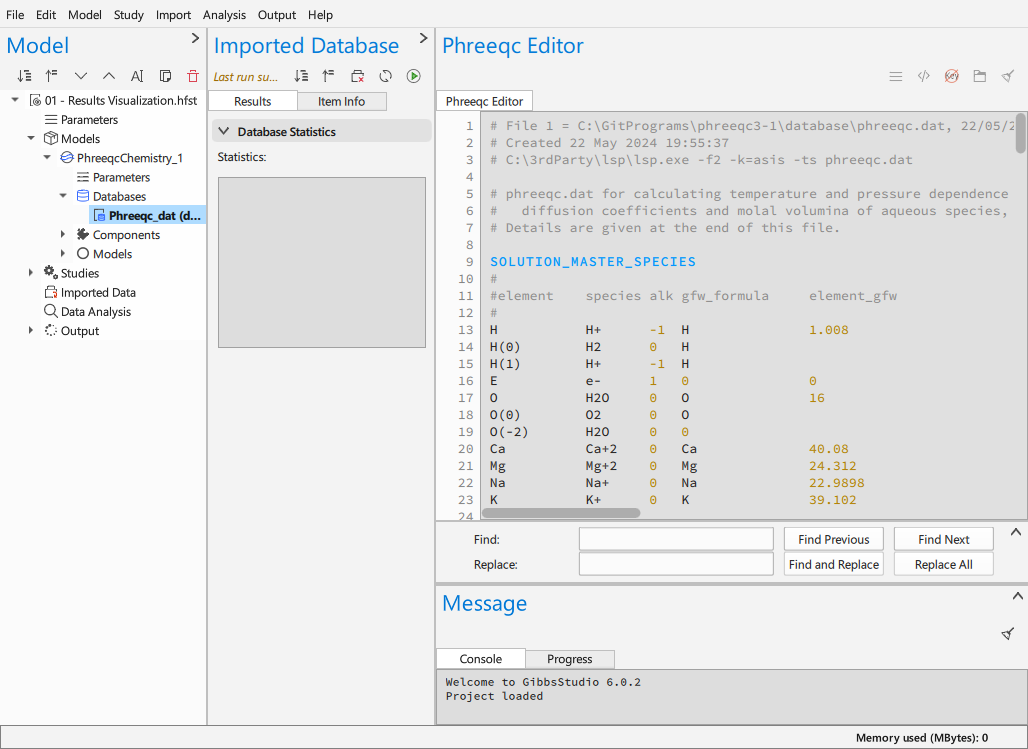
The databases branch contains the PHREEQC databases. The item bolded is the “default” one. The default item can be easily changed using the right click and clicking on “Set as default” on a different item. The default item will be the used by the studies and other elements if the user does not set it to an specific item.
If you rather load a different database, follow these steps:
In the Model Dock, right-click on Databases and add Imported Database.
In the Model Dock, right-click on the freshly created database and rename it to a name of your choice using Rename action.
With the new database selected, click in the Main Dock toolbar on the Load Text File In Editor button and select the database file you want to load. If you prefer, you can also paste the database text directly in the Main Dock editor.
Import Database by clicking in the Form Dock toolbar on the Import Database button. Once the database is loaded, its information is accessible from other entities such as Selected Output or Phreeqc Study
Selected Output
To make data available for later GibbsStudio postprocessing (tables, plots, etc.) a Selected Output is required:
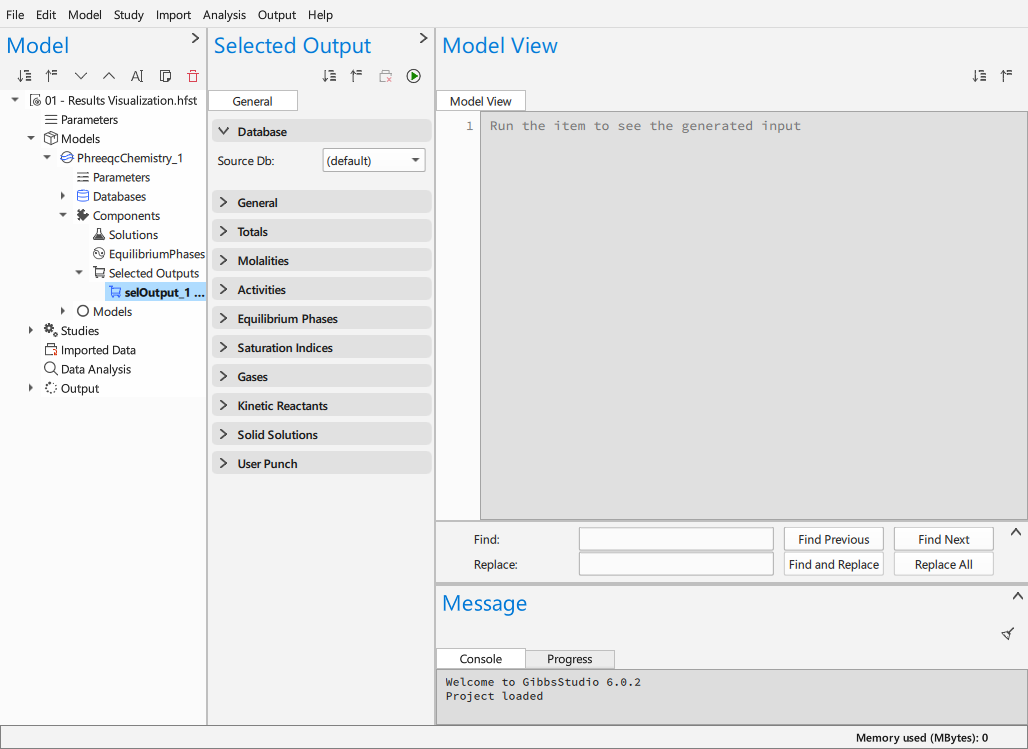
In the Model Dock, right-click on Selected Outputs and add Selected Output.
In the Model Dock, select the freshly created selected output.
In the Form Dock, set the database combo box to the “Database” of your choice.
In the Form Dock, add the desired outputs, either by adding text to the selected items box list or by selecting, with the mouse, available items from the source list.
Model
Models are PHREEQC inputs.
They can be loaded in the same way than databases. Note that five PHREEQC keywords are not compatible with the GibbsStudio workflow, because GibbsStudio manages what they control: SELECTED_OUTPUT, USER_PUNCH, USER_GRAPH, DATABASE and INCLUDE. They are removed on import. That should not change what the input calculates, but it is worth checking.
Set up and run a Phreeqc Study
A Phreeqc Study joins a PHREEQC input model to the GibbsStudio settings that run it. To set one up:
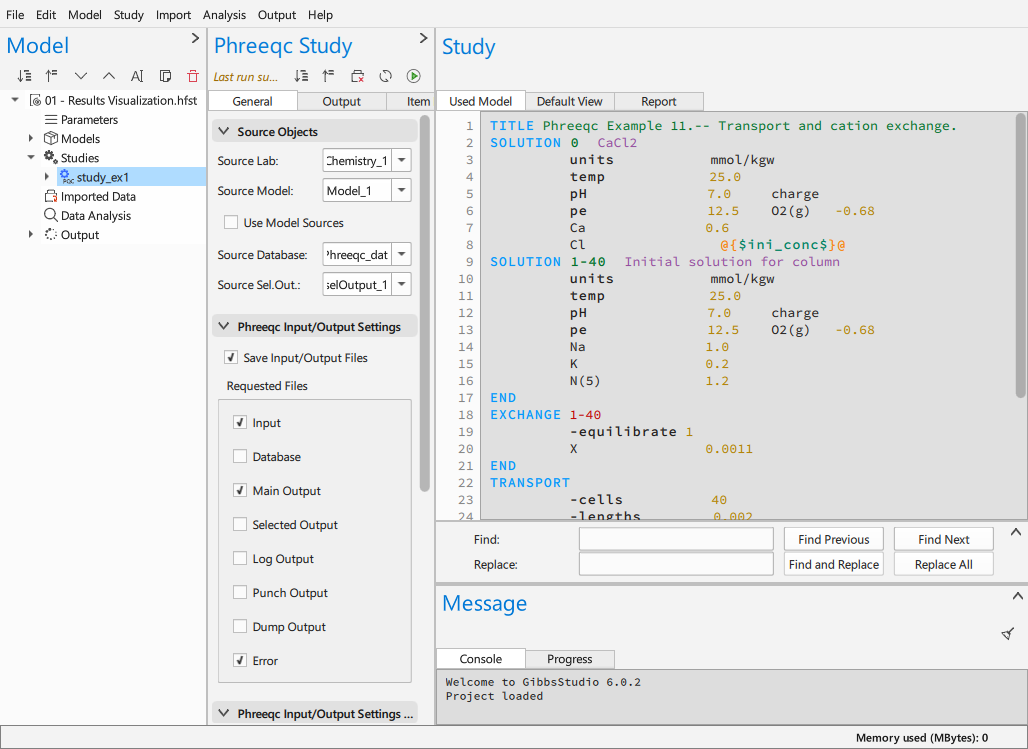
In the Model Dock, right-click on Studies and Add Phreeqc Study.
In the Phreeqc Study Form Dock, with the created study in the Model Dock selected, pick the target Phreeqc Lab and the Model (also the Database and Selected Output if they are not set in the Model) created in the previous steps,
Run Study. Click on Solve button in the Form Dock Toolbar.
In the Main Dock, check the PHREEQC output files in the Results tab and the selected output in the Data tab.
Data views
The study contain different data tables with simulation results (as a SQL database). Under the “Study” branch some default “Views” are created after solving the study.
The views are the one in charge to manage these data tables (join data tables, filter dome values) according the user needs. Some specific views are available (Table View, Filter by String View, …). Note that the user can also create its own SQL specific query.
With the PHREEQC plugin loaded, four filter views are offered as presets
on the fields a PHREEQC result always has: Cell Filter View (soln),
Time Filter View (step), State Filter View (state) and
Simulation Filter View (sim).
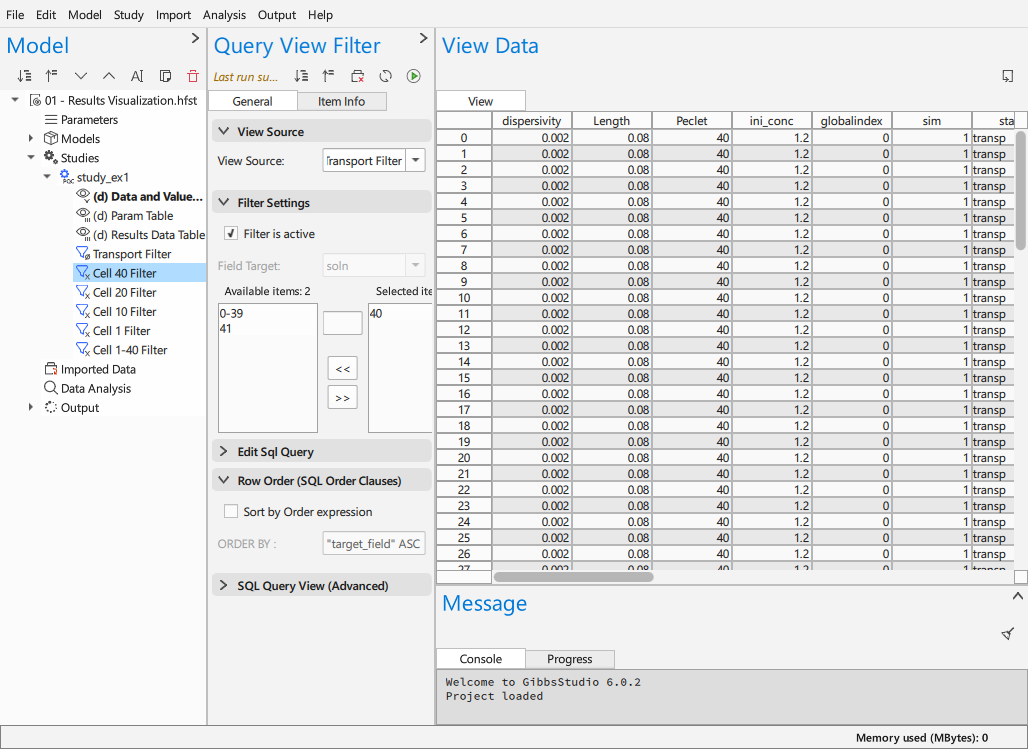
To filter a PHREEQC study’s data:
In the Model Dock, right-click on the Phreeqc Study and add the filter view you want.
Pick the source view.
Choose values from those the data actually contains – the filter lists them.
Click Compute in the Form Dock Toolbar to see the result.
Results covers views and filters properly, including the general filters for any field.
Create a plot
In the Model Dock, right-click on Plots and add a 2D or 3D plot.
In the created Plot, set the Data Source Target Data and Target View to the Study and to View that contains the data you want to plot.
Create a Trace.
In the created “Trace”, set “Data Source” to the “Study” or “Filter”. “(Parent)” value means that the series points to the same data as the plot (parent in the tree hierarchy). This is the default value.
Set a math expression for “X Axis” and “Y Axis”. Variables can be added using the buttons above the expression.
Adjust the plot and series settings in the Form dock settings tab.
Parameterising a PHREEQC input
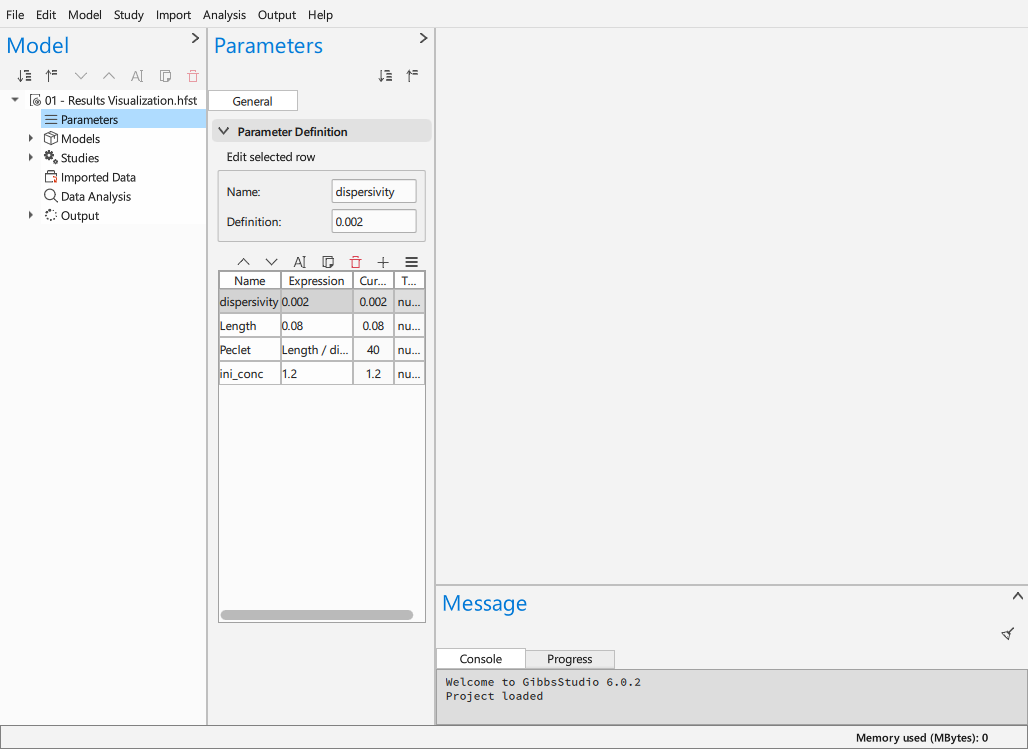
A Phreeqc Study can be parameterised:
Create a new Parameter in Model Dock Parameters entity by adding it to the Form Dock Parameter Definition Table.
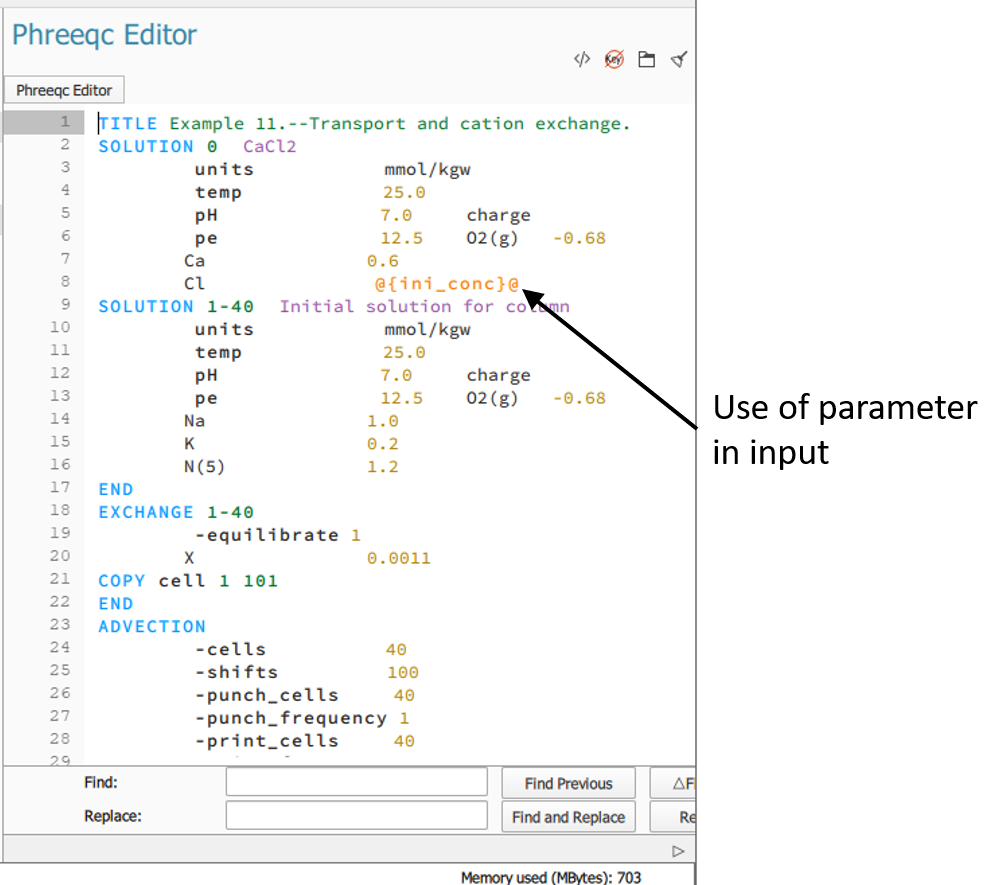
Use the parameter expression enclosed by @{}@ in “Phreeqc Study” input text editor, e.g. @{my_param}@ or @{$my_param+1$}@ if you want to perform a mathematical operation.
Expressions in results
Most fields that take a number will take an expression instead, with results fields written between hashes:
#si_Calcite# - #si_Dolomite#
The hashes are there because result fields are named by the chemistry –
si_Calcite, Fe(3), C(4) – and those names contain characters the
parser would otherwise read as arithmetic.
Expressions lists the operators, functions and control structures available.